
Introduction To AutoIt
AutoIt v3 is a freeware BASIC-like scripting language designed for automating the Windows GUI and general scripting. It uses a combination of simulated keystrokes, mouse movement and window/control manipulation in order to automate tasks in a way not possible or reliable with other languages (e.g. VBScript and SendKeys). AutoIt is also very small, self-contained and will run on all versions of Windows out-of-the-box with no annoying “runtimes” required!
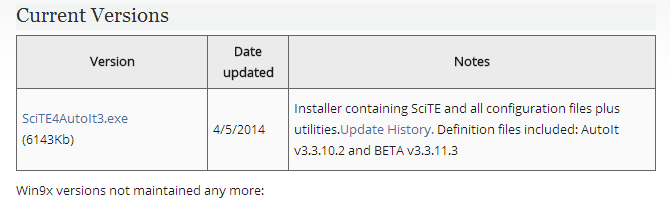
If you want to get started with the great language of AutoIt, you must download the installation files. I recommended that you download the Script Editor as well, as you can compile your scripts so that people that don't have the language installed can run it.
Installation List:
Autoit
SciTE Editor (Optional, Recommended!)
You can also download the documentation of the language which you can use to find out how to use functions for example, but it is online already so this is not so important. Google: "HotKeySet AutoIt", for example, and you will get a link to a page from the documentation. It shows you the function, parameters and how to use them.
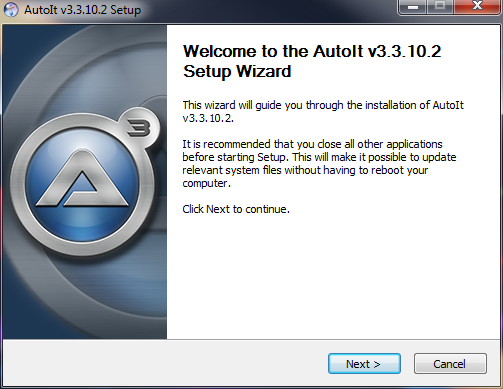
So after you install AutoIt, proceed to install the SciTE script editor.
Once you download, go through the installation.
Now you have it installed find "SciTE" and open it.

You will get a window that looks like this:

In here is where you will write you scripts. AutoIt is best used with functions instead of one big linear list-like script, so that is one thing to bare in mind.
AutoIt also supports other languages including Lua, CSS, Hypertext, etc, but you won't get the intellisense type feature it offers with AutoIt language.
Now, if we go to Tools > Compile (CTRL+F7), we will get a GUI like this.
AutoIt also supports other languages including Lua, CSS, Hypertext, etc, but you won't get the intellisense type feature it offers with AutoIt language.
Now, if we go to Tools > Compile (CTRL+F7), we will get a GUI like this.
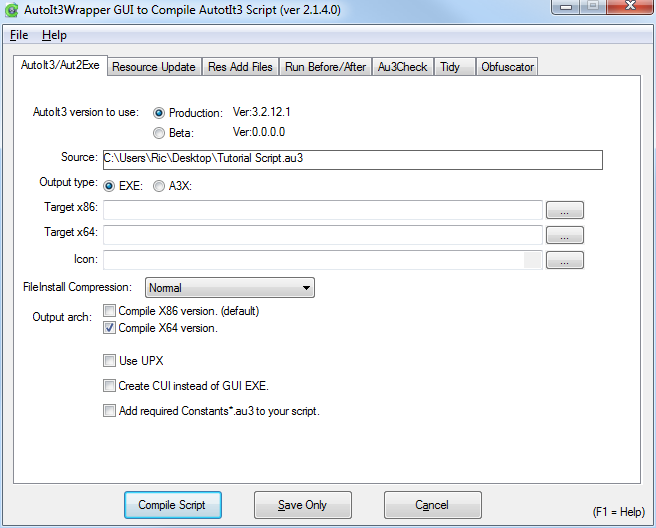
Here, we can specify the Icon we would like for our compiled .exe and which operating system it targeted for and favours.
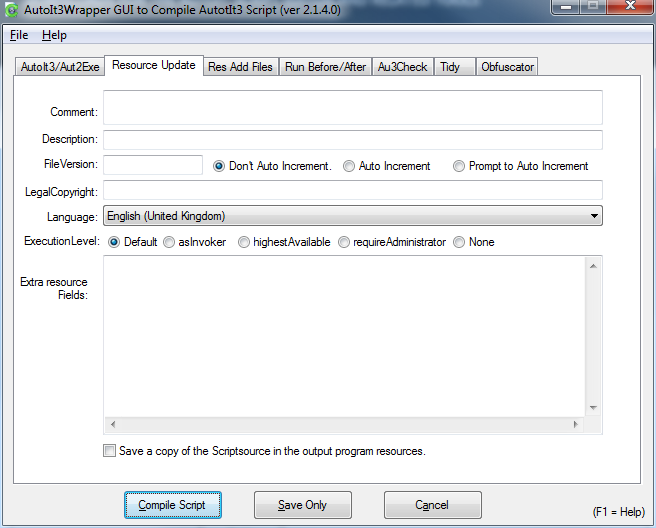
If you go to the 'Resource Update' tab you can write all the descriptions for your script's .exe, such as the file version (which you can make auto incrementing), the copyright information, what permission levels, i.e, 'requireAdministrator' for such tasks like installing to system folders, or reading from protected areas. If you would like to add a description to your .exe this is the place to do so. You can also set the language here.
If you go to the 'Resource Update' tab you can write all the descriptions for your script's .exe, such as the file version (which you can make auto incrementing), the copyright information, what permission levels, i.e, 'requireAdministrator' for such tasks like installing to system folders, or reading from protected areas. If you would like to add a description to your .exe this is the place to do so. You can also set the language here.
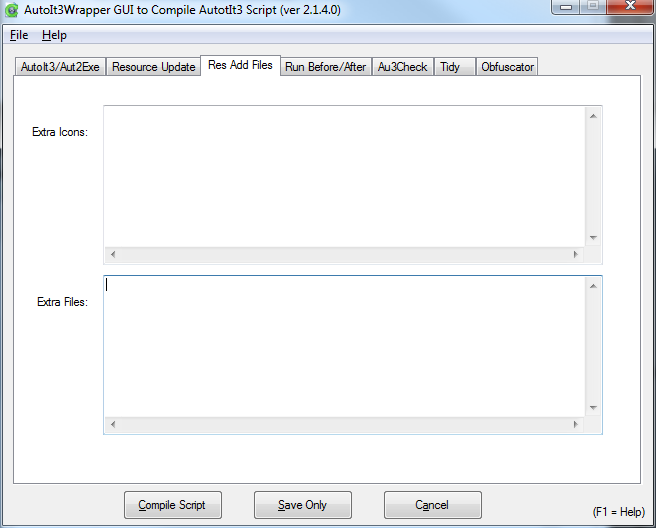
If you go to the next tab 'Res Add File', I believe this is where you can add internal files, but I am not sure how exactly you use this because there is no 'browse for files' button or anything.
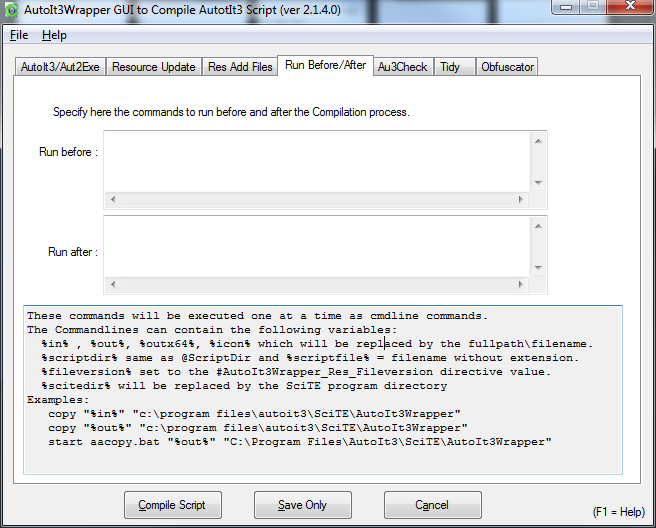
The next tab 'Run Before/After' is where you can add commands for the compiler to read, I have never found use for this but I can see it has purpose.

On 'Au3Check' tab you can make sure you haven't got any obvious errors. You can add any of the parameters to run in the compilation. This can be useful to make sure your free of any glaring mistakes. But I find that if the script runs without warnings or errors, it must be decent. But this checks for a lot more thoroughly I suppose.
On the 'Tidy' tab, it is literally the same thing. You can also make it tidy your script, with indents and proper formatting of the code, a in-house beautifier if you will, which I always run to make my scripts look nice.
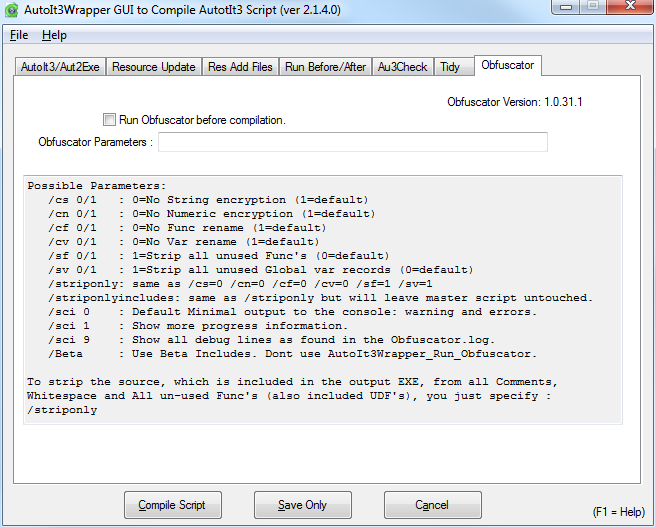
This next tab is quite interesting, this is where you can make it 'mash-up' your code, so that if someone tries to decompile it, it will look like a load of mess and everything is a bunch of numbers, letters and special characters.
You must check the 'Run Obfuscater Before Compilation' if you want it to do this. When I tried in the past, I got some errors, I guess it is more sensitive to bad code.
When you have a script to compile, you would click 'Compile Script' to get your .exe (Creates the .exe in the same directory as the .au3 you have been working on).
Now we will have a look at the many options in the drop-down lists.
Now we will have a look at the many options in the drop-down lists.
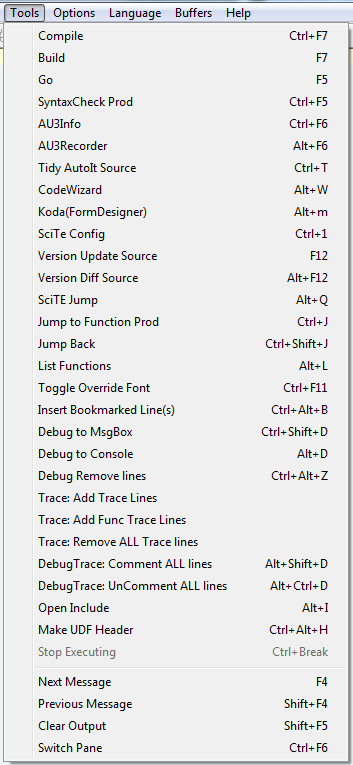
Compile - Compile your script with many options.
Build - Re-Compile your script with exactly the same settings (Overwrites old .exe).
Go - Runs the script, used for debugging your script before you compile it.
SyntaxProd Check - Scans script and checks for any errors that may exist.
Au3Info - Brings up a window you can use to get many info's about programs, i.e, Program Class, ID, Mouse Position and much more, very useful.
Au3Recorder - Creates code from user input and actions. With 'Internal Functions' checked it will generate code of which uses functions, instead of just a linear script.
Tidy AutoIt Source - This will clean up your source code and report any errors that it found when doing so.
Code Wizard - Generates code with the options supplied. Very useful. Allows you you easily get the look you want.
Koda(Form Designer) - This is a separate must have download for creating GUI's which ease. While not as stable and feature rich as Visual Studio, it is still very useful, I use a lot to get my GUI's looking good.
SciTE Config - This is where you can edit the config of the editor. For such things as Auto Propercase, Display Inline Errors, Font Changing, Synax Colours and other various tools and options.
SciTE Jump - More tools like 'search for > replace with', 'UDF header name', 'search tools'.
Jump To Function Prod - You can type a function name and highlight it and it will jump to the actual function.
List Functions - Lists all the functions within your current document.
Toggle Override Font - Will change the code font to a custom one.
Debug To Msgbox - Will display debug information of current line.
Debug To Console - Does the same thing, but writes it to the console at the bottom.
Debug Remove Lines - Will remove any debug lines that you created earlier.
Trace: Add Trace Lines - Writes tracer lines (Errors) to the console in SciTE.
Trace: Add Func Trace Lines - Writes function trace lines to the console.
Trace: Remove All Trace Lines - Removes all trace lines from the script.
DebugTrace Comment All Lines - Comments-out all the trace lines in the script.
DebugTrace UnComment All Lines - UnComments-out all the trace lines in the script.
Open Include - Will open the actual .au3 file of the #include line, i.e, '#include <misc.au3>'
Make UDF Header - Creates a commented header for functions and structures.
Stop Executing - Will kill the current running script.
Now that you have an understand of the interface of AutoIt, you can have a look a beginner coding tutorial here